DIY Rowing Machine
Rowing machines are a great way to get in some cardio from the comfort of your home. The only downside is that at-home rowing machines can be expensive, and cheaper ones often lack build quality and basic features. With this in mind, we’ve created a guide to making a DIY rowing machine.
Luckily, most of the components are easily accessible and, by building them out of wood, we can easily source the materials and follow basic construction methods. So, let’s get started!
The Frame
A lot of time and effort goes into building the frame. Though it’s a simple design, it needs to be strong and sturdy. Ensure you select wood that’s appropriate across the whole beam. As a rule, wood is strongest in compression, not with sideways loading. Longer sections or load-bearing sections need to be extra strong. The frame will essentially be made from three parts: a simple T-frame that supports the front and holds the spinning wheel, the support beam and slider, and the rear support.
- The Support Beam: This will be under a lot of sideways loading and twisting torsion.
- The Rear Legs: These will take a lot of weight, consist of two sections of wood and need to be bolted on either side of the main support beam. Also, make sure to remove any sharp or protruding bolt sections to keep it safe.
- The T-Frame: Fit the legs to the outside of the support beam. Remember that the wider the legs, the better the stability.
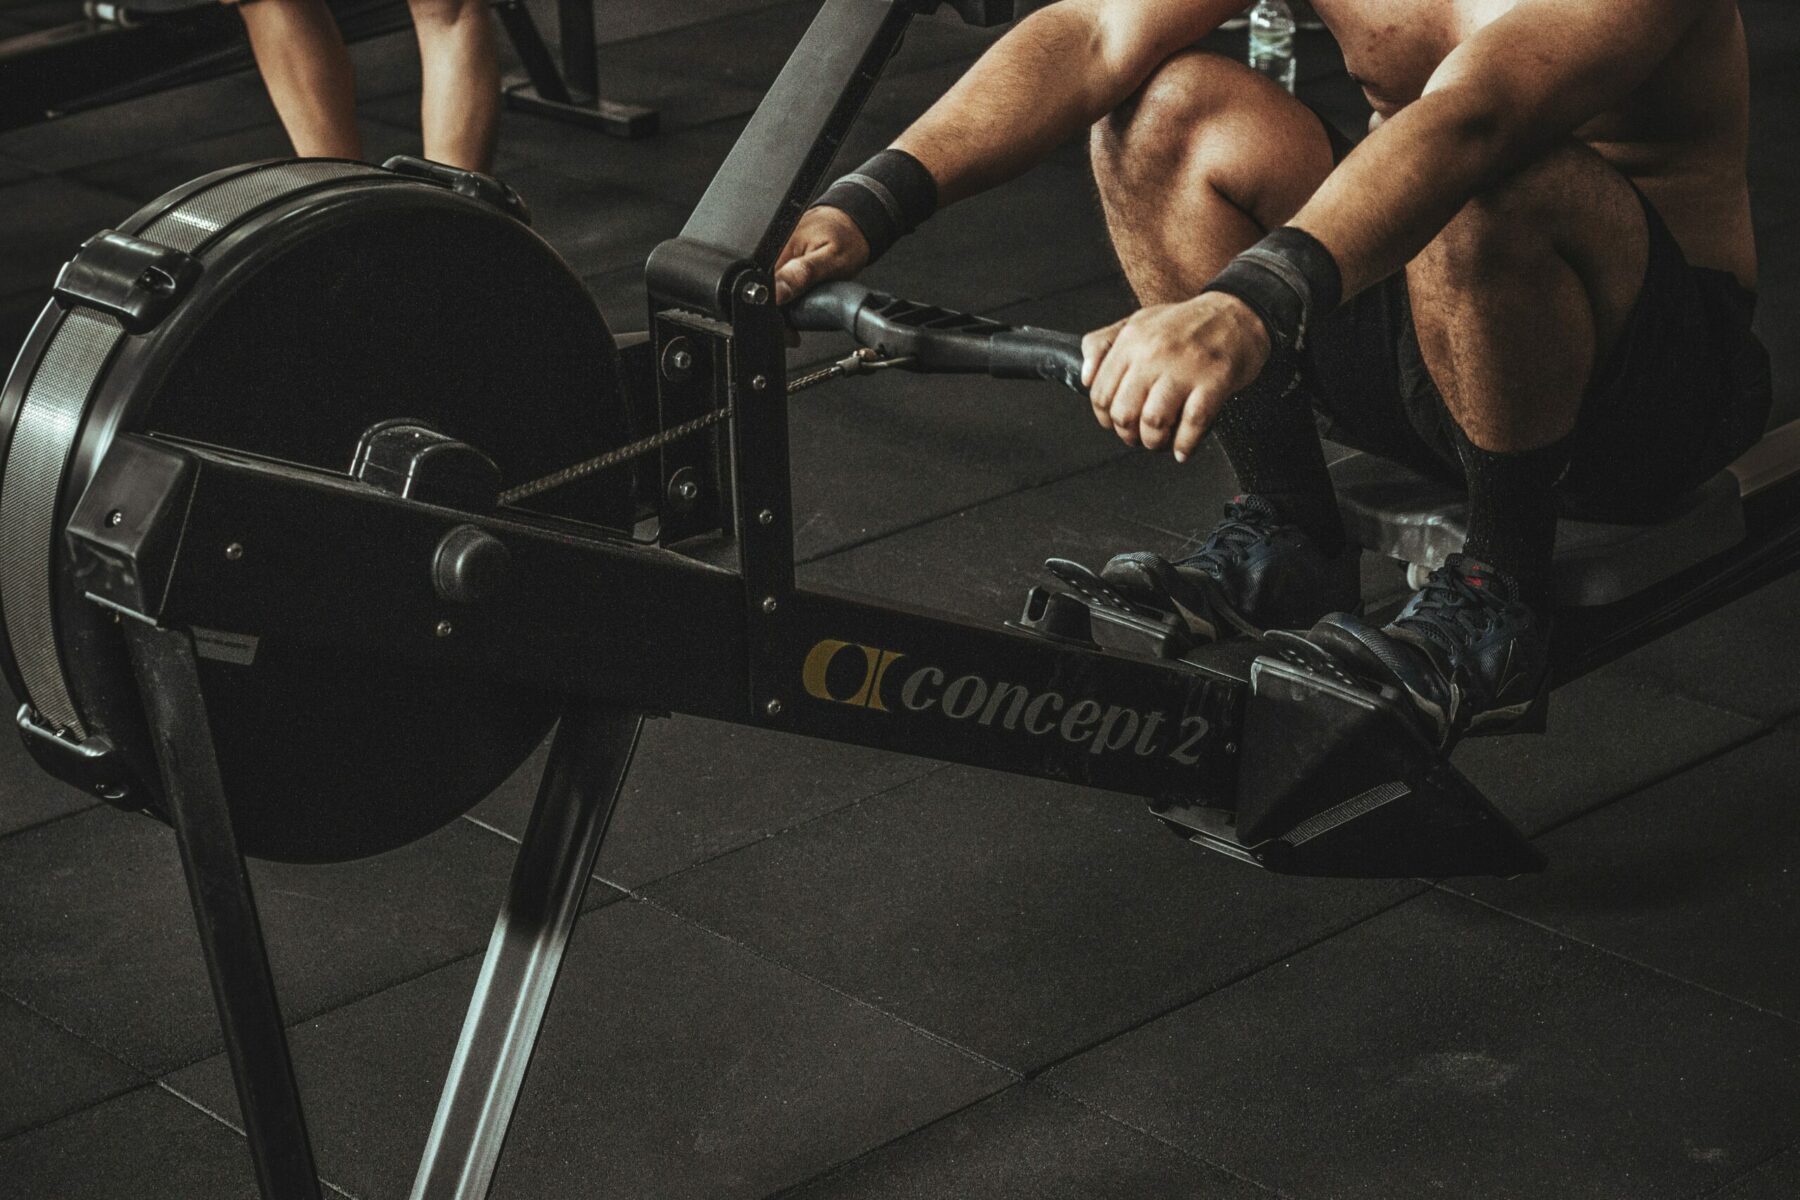
The Spinning Wheel and Control Mechanism
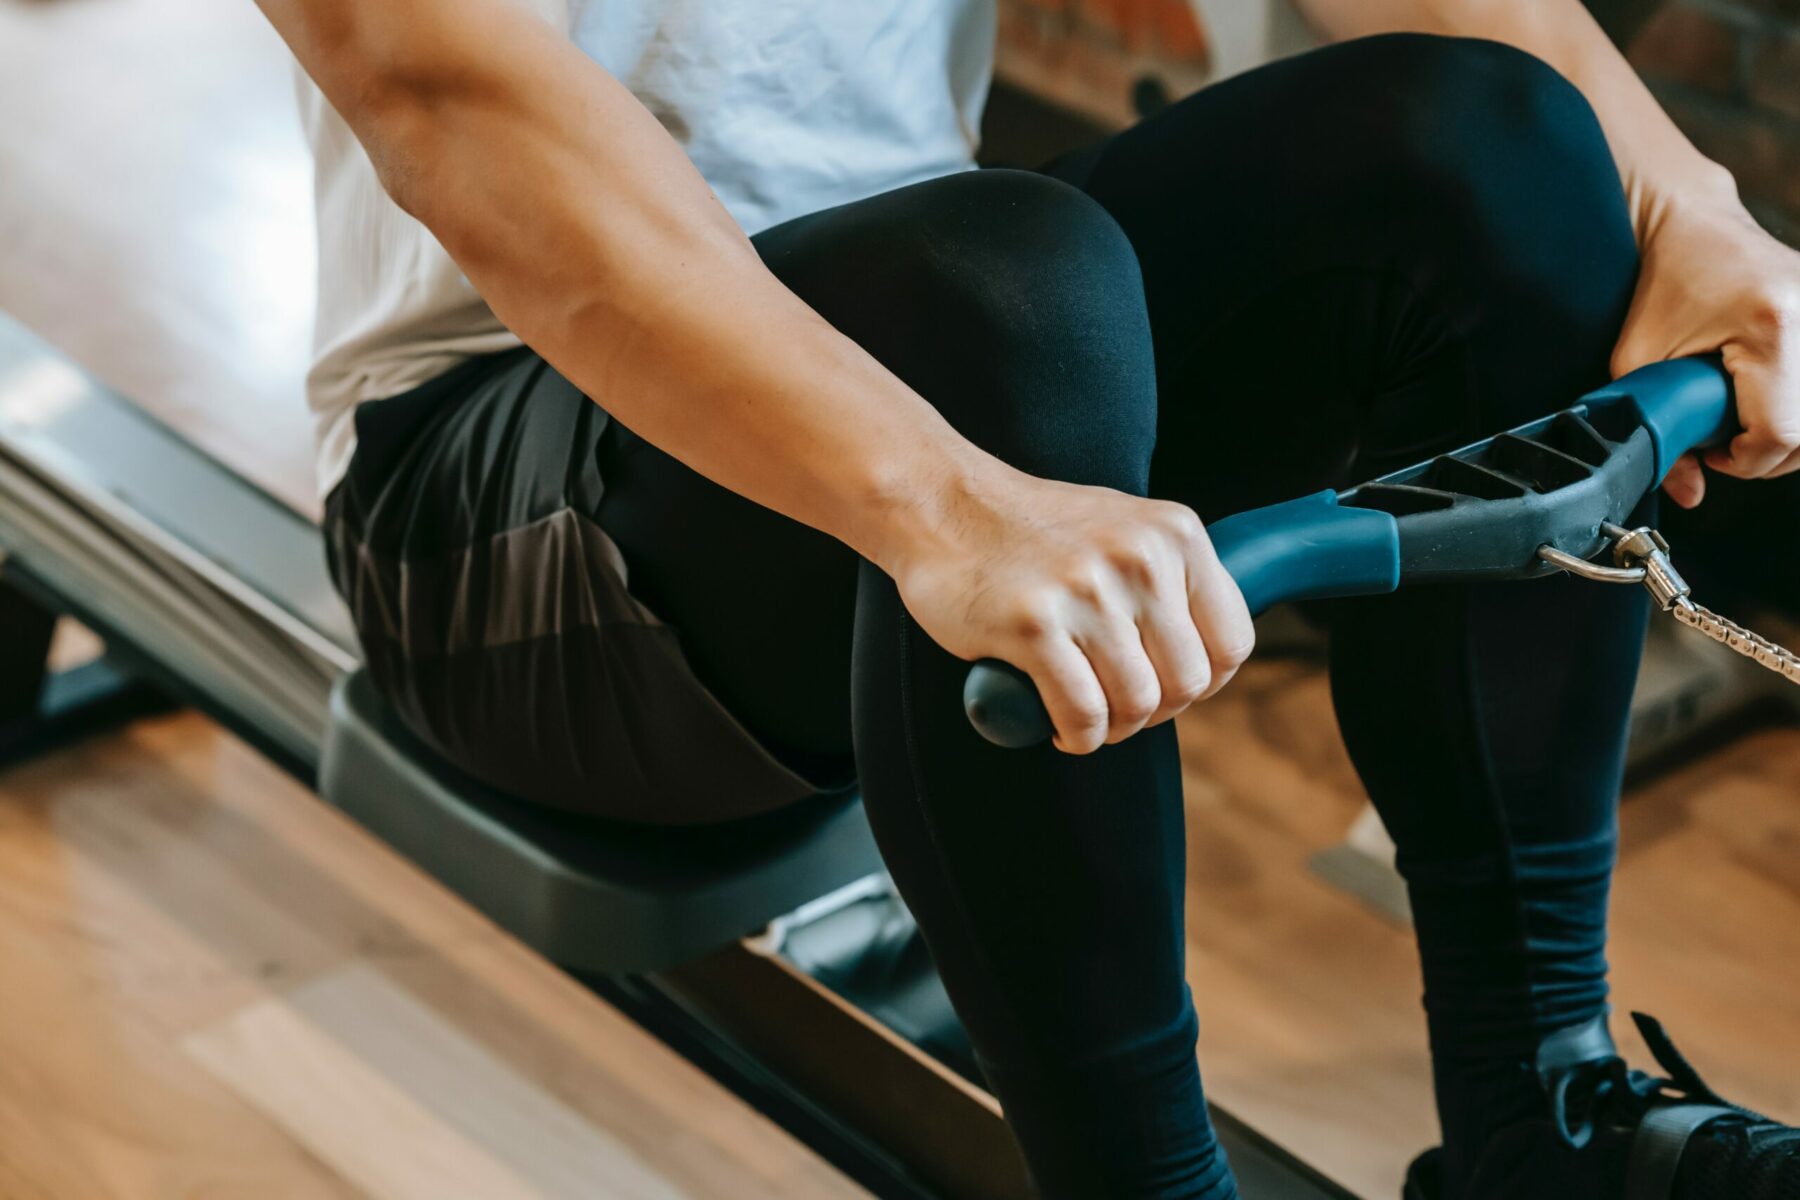
For this, you can easily acquire a few ready-made components from your garage. You’ll need some sort of handle or bar, a rear bicycle wheel with the sprockets, a bicycle chain, a length of elasticated rope, and two pulleys.
- The Bicycle Wheel: You’ll want to add a few things to add some air drag to it (this can act like a fan to cool you). Get a stiff plastic or aluminum sheet and fit them to every 5th spoke. You’ll want to make sure the fins don’t catch the wood on either side of the frame. Once you’ve added strips to your wheel, secure the wheel to the frame.
- Two Pulleys: One pulley will be at the back by the leg and will have the elasticated rope running through it, so select an appointed-sized pulley based on your rope size. The other pulley goes under the wheel and will have a chain going through it, so you can either get an appropriately-sized pulley or use a teethed one.
- Bike Chain: This will run across the top of the gears on the wheel and turn it when you pull the handle.
- Elasticated Rope: This part will stretch and elongate when you pull your handle toward you and back. You’ll also need to use a short section of rope between the chain and handle to make sure you don’t pinch your fingers on the chain.
The Seat and Accessories
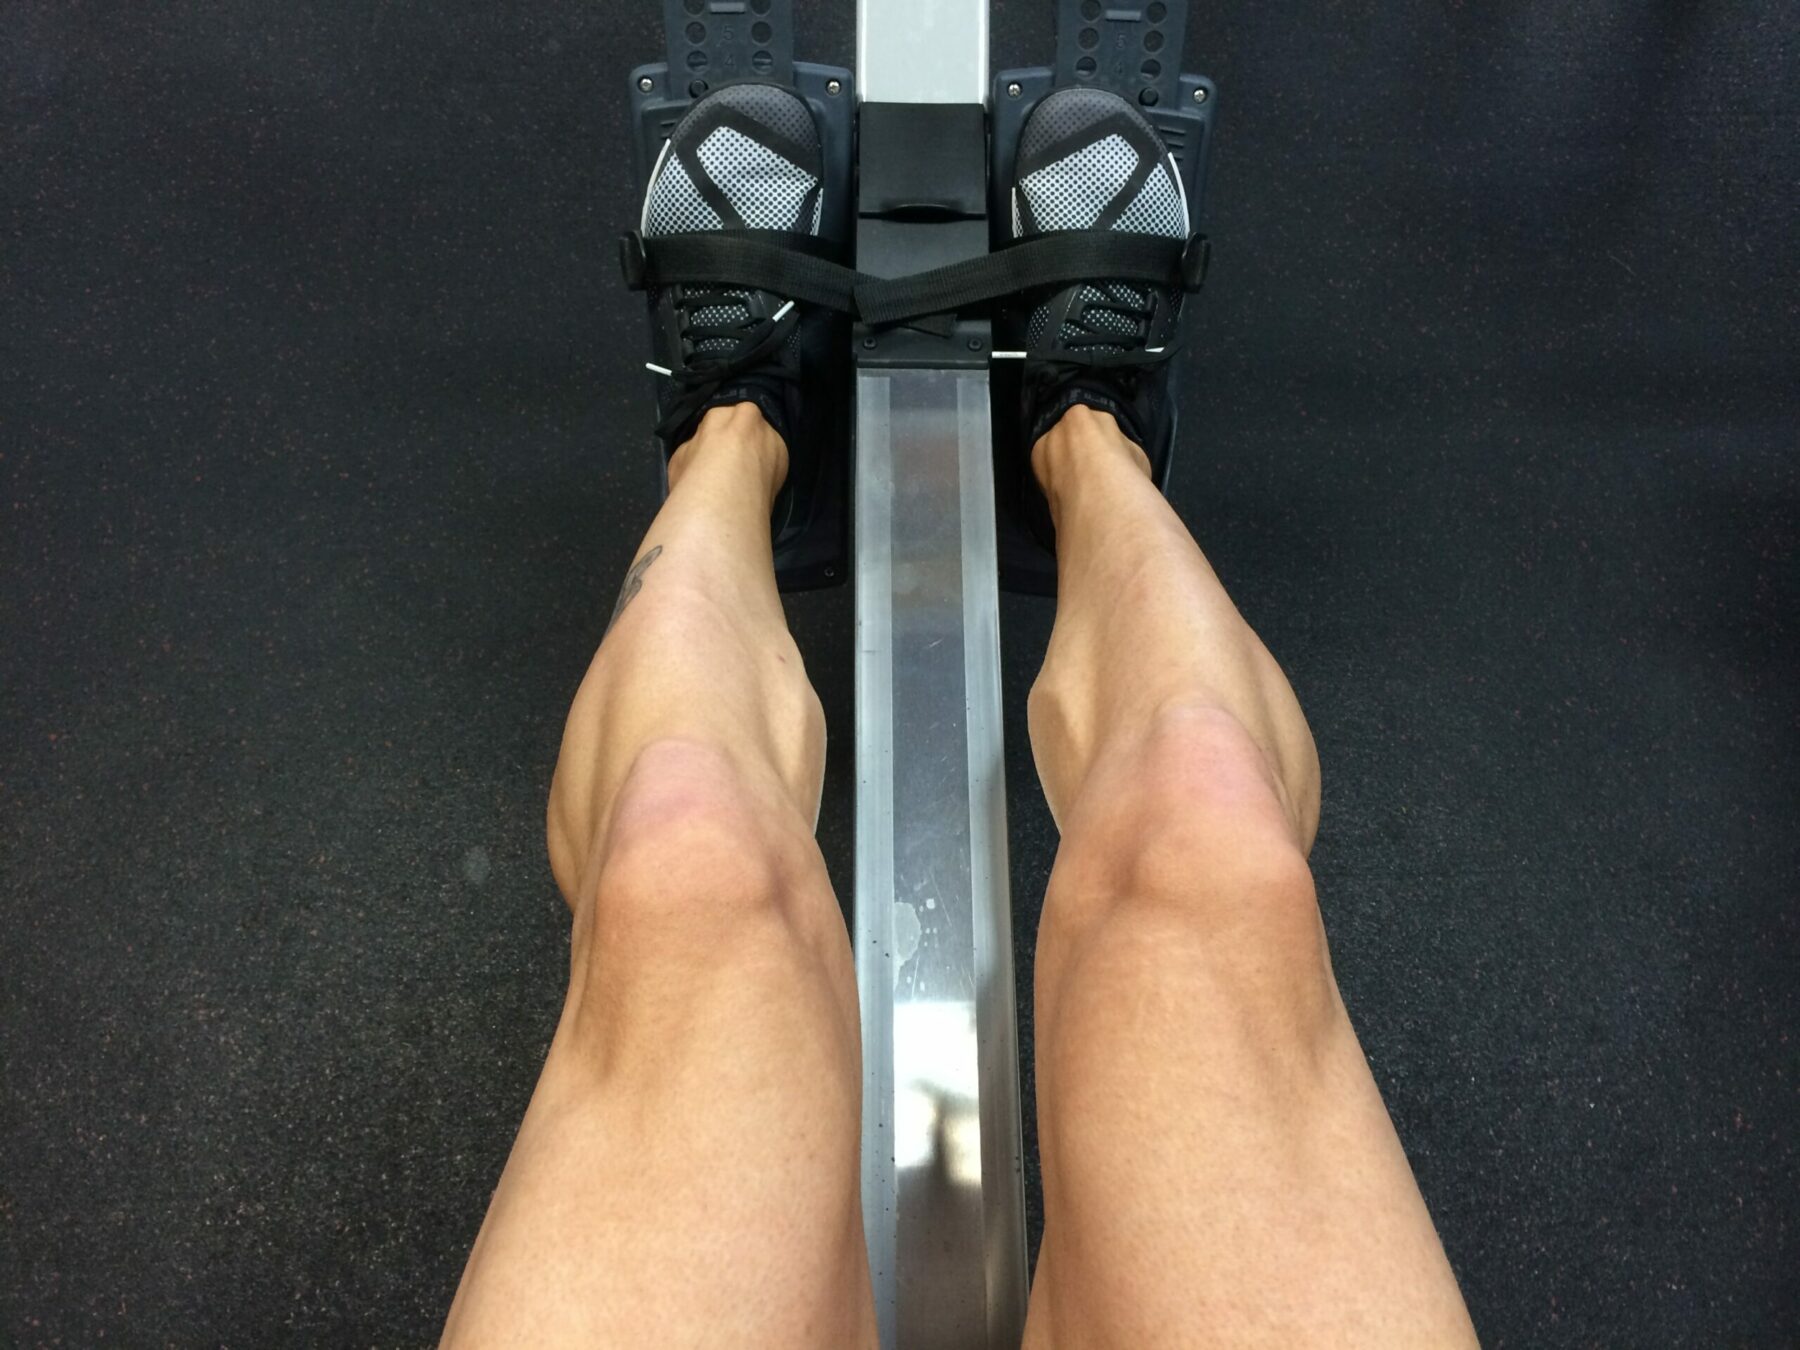
The last few things are making the footrests, handle and seat. The footrests are simple — you just need to find some decent-sized wood that’s wide enough for your feet and secure them to the supporting beam. You can put straps on, as well, for your feet. For the handle, you can use anything. I’ve used a gym lat pull-down bar before. For the seat, you can make it from a square bit of MDF and attach four grooved wheels on the bottom, which allows the seat to slide without any left or right movement. As a key, make sure the sides of the supporting beam has slightly higher wood than the beam so it creates a channel on top, and put a piece of wood at the back to stop the seat. This is to keep you from falling off the edge in case the seat comes off the rails.
Making It Safe
Once you’ve completed your rower, you need to make it safe before using it. Making a guard for your wheel is a good first step — this could be made from small fence wire like chicken wire or steel mesh. Also, make sure all bolts are countersunk and that everything is sturdy, secure and operates smoothly.
How to Add Resistance
If the air resistance isn’t enough for you, you can do the following things:
- Move the chain onto a different spoke on the wheel’s gears. This will change the effort required to turn the wheel.
- Add an adjustable one-way brake pulley to adjust the resistance for pulling the handle.
- Change the strength or length of the elasticated rope.
- Add more air fins to the wheel.
How to Access Speed and Workout Data
You can easily buy a bicycle cadence system and fit it to the rower. Simply fit the magnet to one of the spokes and fit the receiver to the T-frame. Then, just fit the LCD on the T-frame, or use a Bluetooth one and use your phone. The problem here is you won’t get accurate workout and calorie readings, but you’ll be able to see your road speed (as if you were on a bike) and use the data to keep an eye on your progress to see how you’re improving.
–
At-home rowing machines can be expensive, but by following these simple steps, most people should be able to create a functional DIY rowing machine for under $180.
About the Author

Dave Gorman is a digital brand manager with previous knowledge as a product designer. He has over 15 years of experience in the industry and currently runs The Home Fitness Store and The Carb Free Zone.