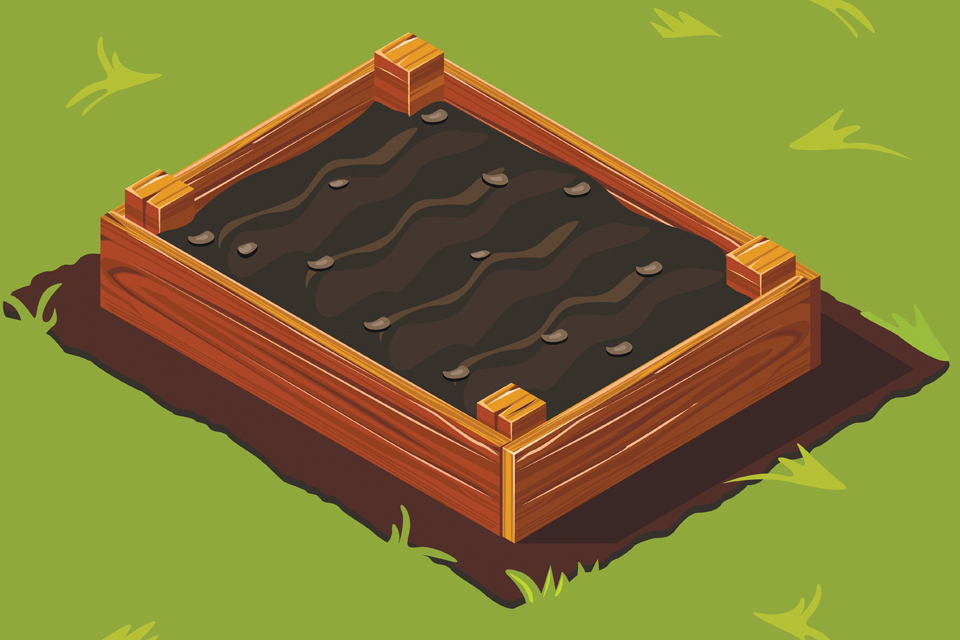
Build a Raised Garden Bed in One Hour

When we built raised garden beds at SFC, we made them 4’ x 8’ in size. If you choose to build one that large, be sure to enlist the help of a friend. For a regular sized backyard, a 4’ x 4’ bed is suggested. Here’s what you need:
Cordless power drill with Phillips head
1-inch drill bit
8 boards @ 2” x 8” x 4’ (or buy 4 @ 2” x 8” x 8’ and ask the nice folks at Home Depot to cut them for you)*
1 board @ 4” x 4” x 8’, cut into lengths of 16”
Screws—Wood screws, Phillips head, 3.5”, at least 32 of them
*Tip: choose a rot-resistant wood that's not pressure treated (ie: cedar or spruce mix)
Instructions:
1. Find a flat surface to work on.
2. Lay wood so that crowns of wood face in. Place on top, perpendicular to two 4” x 4” blocks.
3. Pre-drill holes with 2” screws. Puncture only the first plank; do not pre-drill into the 4” x 4”. Drill two holes on each side, both off-center on opposite sides.
4. Hold the screw in the pre-drilled hole and slowly, steadily—using your bodyweight to apply pressure—drill the screw through both pieces of wood until it is flush with surface. Stop pushing the power drill on the screw if you start to hear a jumping/skipping sound. You don’t want to drill to come off the divots on top of the screw—if it does, it will be very difficult to move the screw into the board.
5. Once all four 4” x 4” boards are attached to two 2” x 8” x 4’ boards, you’ll need to lay this assembly on its side. Align the third 2” x 8” x 4’ board to the exposed side of the 4” x 4”, creating a perfect right angle with the boards. Make sure the crown of the board is facing inward. Pre-drill two holes, and then drill in two more screws like before.
6. Turn the unfinished bed on its opposite side to attach the fourth and final 2” x 8” x 4’ board. Repeat step 5.
7. Place the “feet” of the bed into the ground where you dug the holes. To keep out weeds, cover the floor of your bed with cardboard or wet newspaper prior to putting in soil and compost. For every 6” of soil, use 2” to 3” inches of compost, and then mix thoroughly with a turning fork (or your hands).


