The Art of Fit: Medal Wind Chimes
In this column, “The Art of Fit,” we will be looking at different ways the worlds of fitness and arts intersect. And as often as possible, we’ll be trying some fun projects!
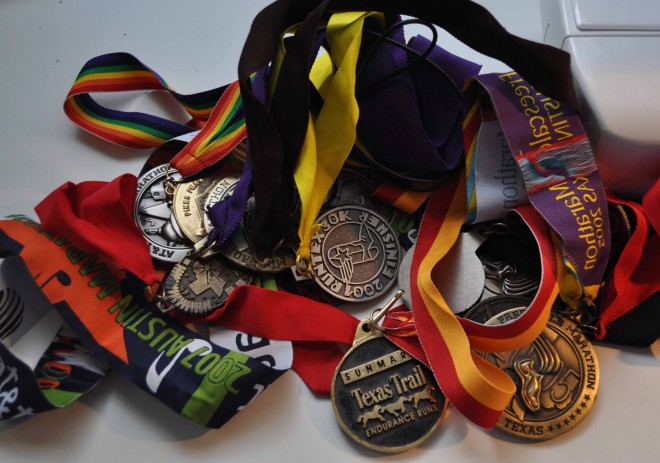
I’ve heard from many runners that they really don’t know what to do with all their race medals. They sit in drawers or hang in bunches around doorknobs, where they can’t really be appreciated. So, for our first project, we decided to try to make a wind chime. Step One: Detach the medals from their ribbons. I used a thread picker, available from any sewing or craft store, because I wanted to save the ribbons* for another project. You can also just use scissors, but some ribbon material will fray if cut.
Most medals come with at least one jump ring (this is the little round thing that connects it to the ribbon), and many have two. Save these! Each of your medals should have two jump rings so that they can rotate freely. You can also buy jump rings from a beading, craft, or hardware store. You’ll want them to be sturdy.
Step Two: Plan your wind chime. The size and layout of your wind chime will vary depending on the number and shape of the medals you have. Place your medals on a surface and try different configurations. Remember that you’ll need a slight overlap between the medals in order for them to touch and make chime sounds. I opted to put the larger medals at the bottom, but really, you can do any design that’s pleasing to you. Step Three: Figure out the method of support. The number of medals will also help you determine the size and shape of your support. The wind chime support can be almost anything – even a tree branch. If you have a lot of medals, you might consider a circular support (http://theruncommuter.com/the-greatest-ever-race-medal-repurposing/.) Whatever you use needs to be fairly sturdy, because these medals can be heavy. For our project, I used a simple wooden dowel that can be found at any hardware or craft store. I eyeballed the length, laying the dowel above my layout, and trimming it down so that it was just slightly wider than the medal configuration.
Next, I measured, did some loose math based on the number of medals I had and the length of the dowel, and then drilled holes. And, because you could see my pencil marks, I added a coat of acrylic paint.
Step Four: String ‘em up. I used basic beading tools I had on hand, small pliers and beading cord. You could also use fishing line. You just need something strong enough to support the weight of the medals, so something like sewing thread probably won’t work. Look at your layout to see how long to make each cord or line; I cut the beading cord to different lengths, based on how far I wanted the medal to hang from the dowel. Then, knot the cord several times (using the pliers to make the knot super tight) and finish off with a dab of clear nail polish to help hold it.
Next, pull the cord up through the dowel, make your knot larger than the hole, and repeat the tightening and nail polish steps. During this phase, be sure to frequently lift your work up to make sure that the medals are hanging where you want them. As I added medals, my design evolved somewhat into a more organic form, which I liked better. That’s part of the fun of creating!
Step five: Hang your work. I used a jump ring and key chain to create a hanger. I ran the beading cord through the end holes of the dowels, knotting the cord on the bottom to hold the hanger in place.
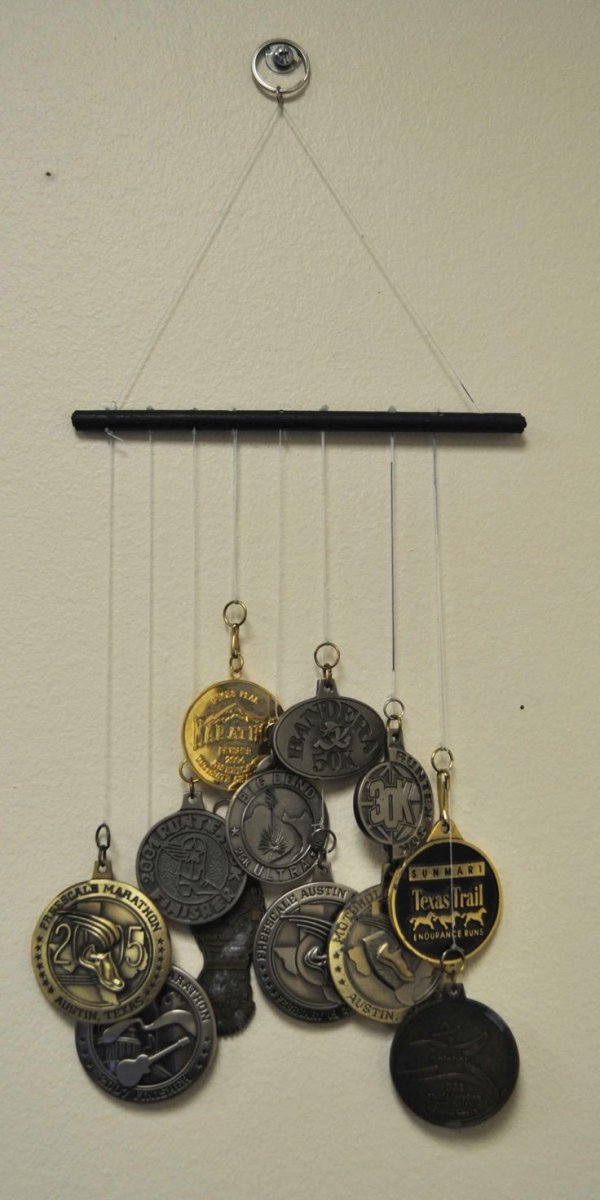 And that’s that! Here’s the finished product:
I think the next time I try this, I’ll get some heavy duty crimp beads (http://www.firemountaingems.com/encyclobeadia/beading_resources.asp?docid=652R) instead of tying knots. Also, if you (or your neighbors) are not a fan of wind chime sounds, you could also create a mobile using the same process. Just create a layout where the medals don’t touch. Oh, and remember those ribbons?